
Hey there friends! So I think you’ll be able to tell from today’s post and video that I’m struggling from the Monday-on-Tuesday blues. I’m feeling a little “off” today after coming down with the fastest cold ever last week (seriously, one minute I was fine and then two minutes later I felt like crap). I’m also still trying to sort out what to do/when with my new schedule. I’m having a blast, but still feeling a little discombobulated…
Anyway, today, I’m sharing a card I made with the random pieces of cardstock I stamped and cut in this week’s Teach me Tuesday video. I really had no rhyme or reason when I pulled out scrap pieces to demonstrate with, but I figured out a way to make it work.
So here is the finished card:
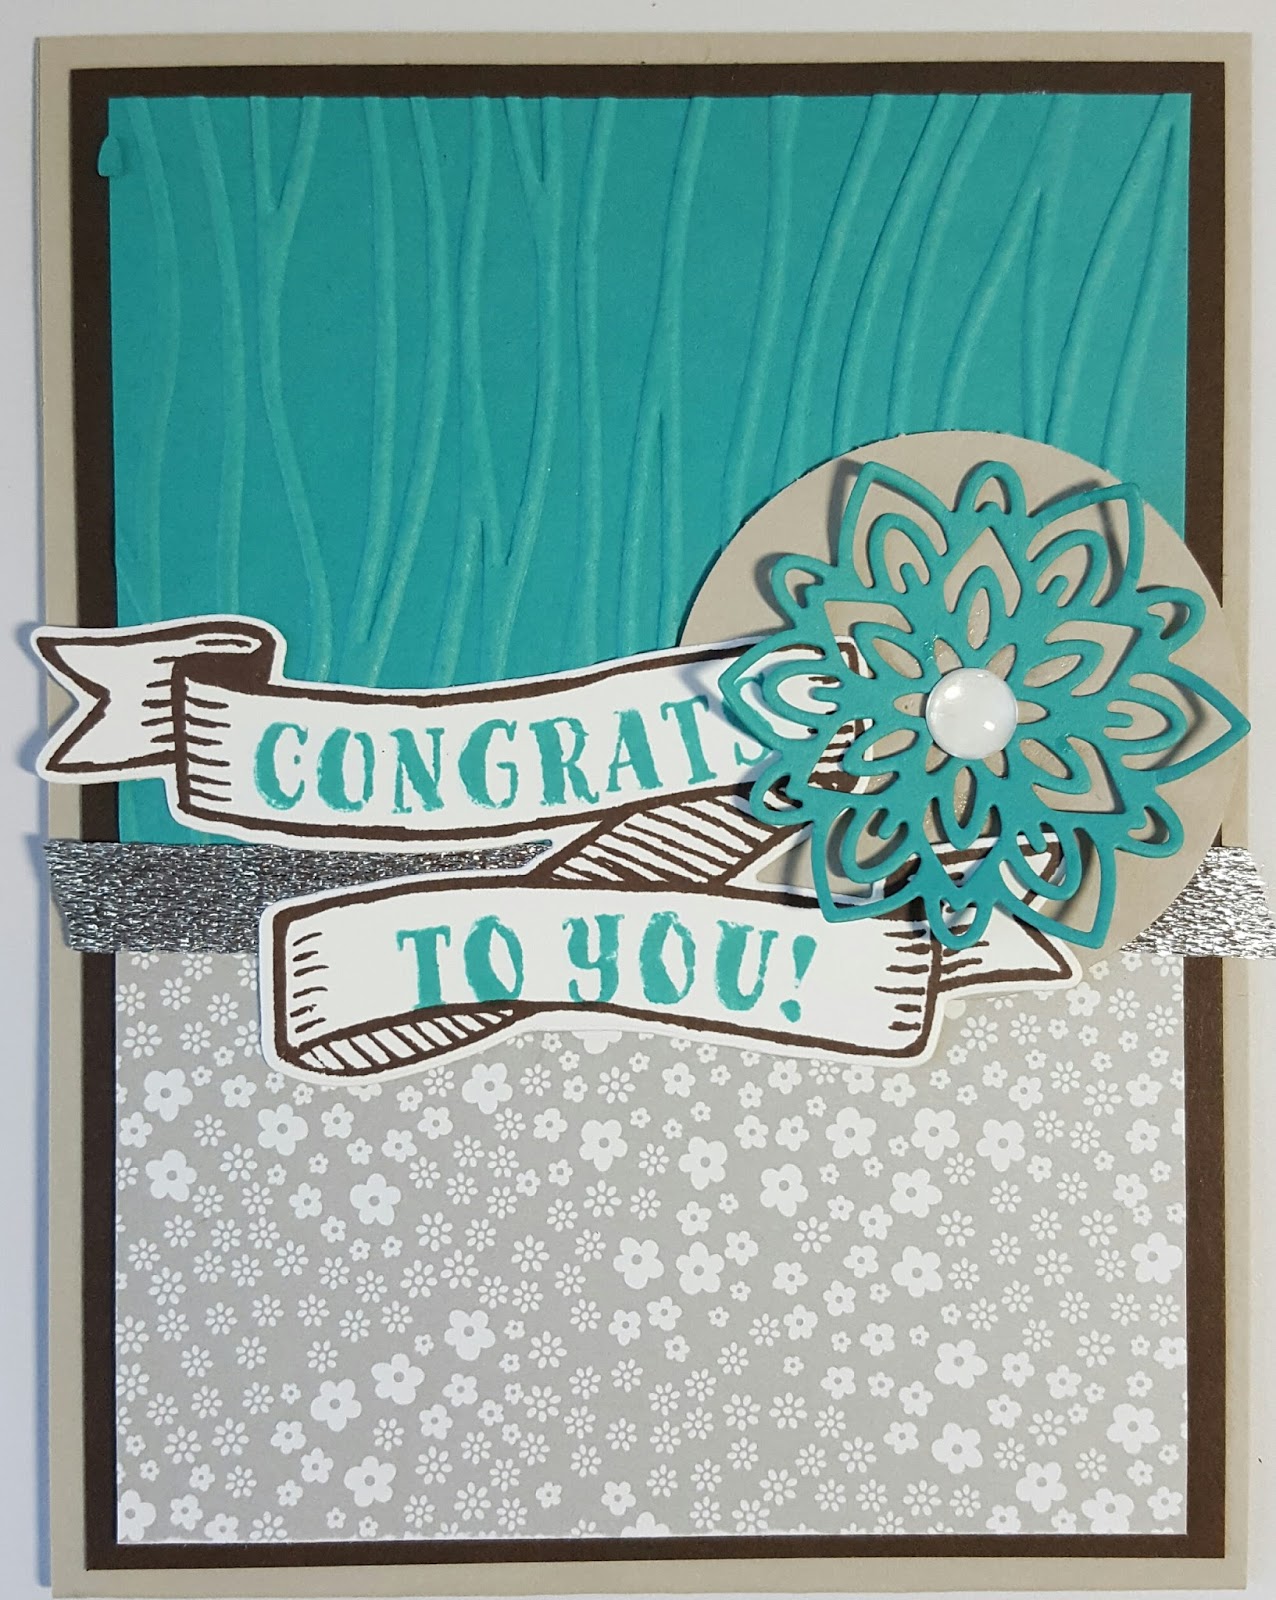
Nothing super fancy… just playing with paper. Want to know what is really funny about this card, though (and further evidence that I’m struggling a bit this week??)? Look at how I put this one together:
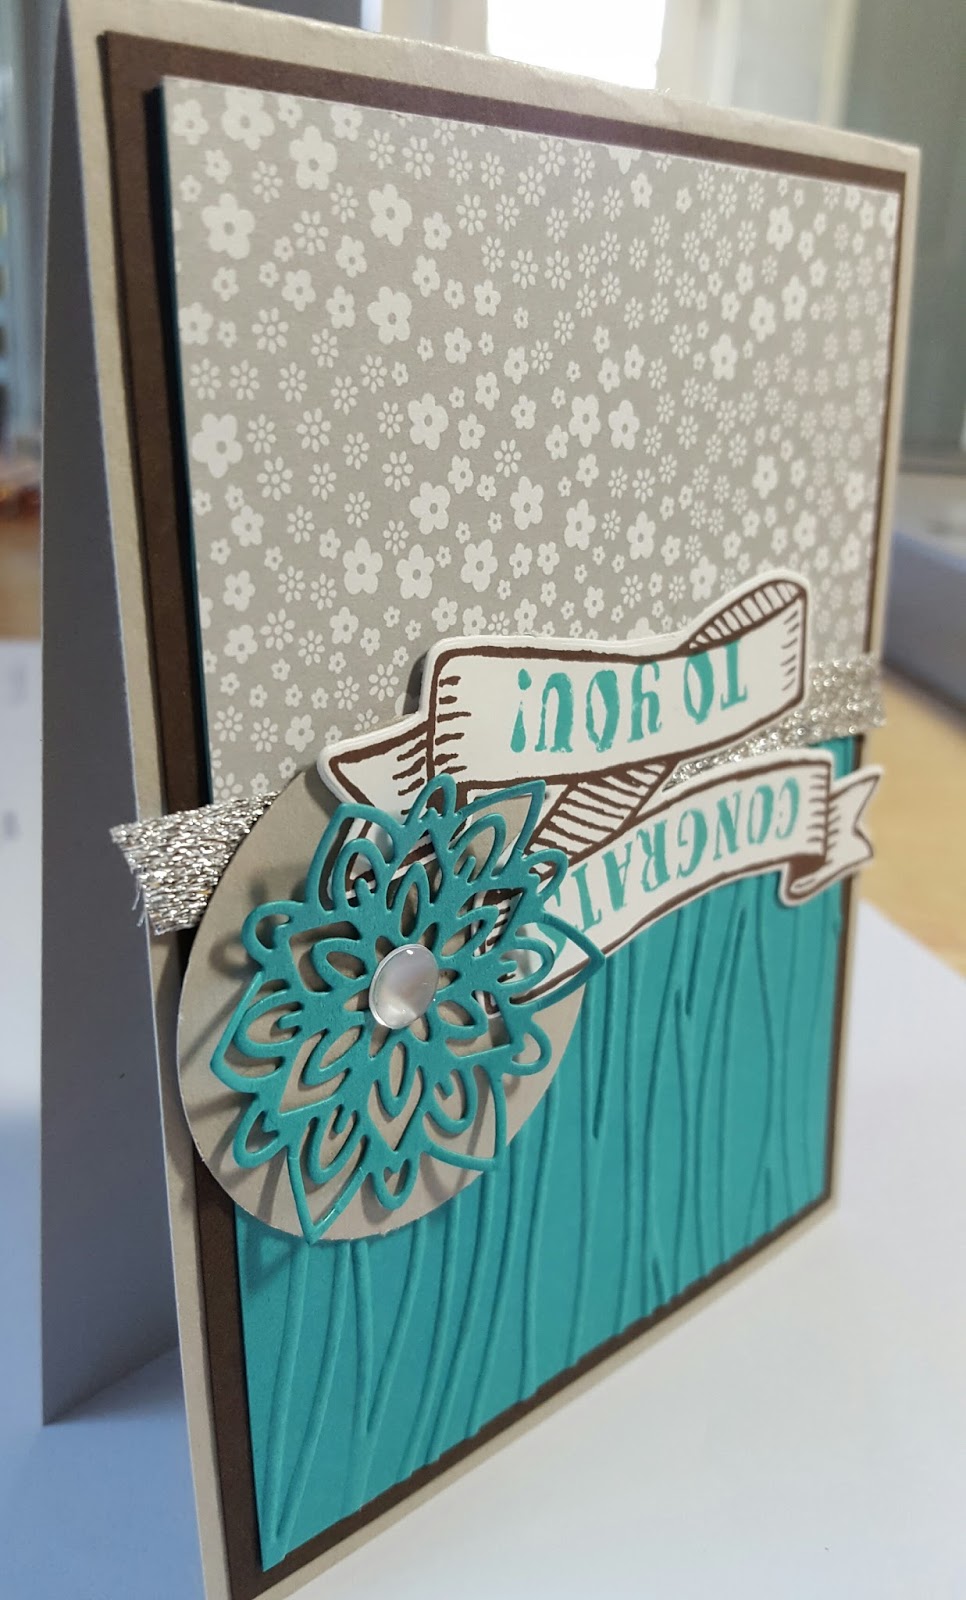
Oopsie… see, I told you I was off today! No worries, I’ll just chop it apart and layer it on a new card.
Big Shot Basics
Today’s Teach Me Tuesday video is all about the Big Shot — my go-to tool for papercrafting. I know it can be a little intimidating, though, so I thought I’d do a little Big Shot Basics video for you this week. I’m hoping it’s not as discombobulated as I feel! I will warn you that I interchange a few of my words on a couple of occasions (like when I tell you to put the cardstock inside the cutting mat instead of the embossing folder — oy!) – but hopefully, the fact that it is video and you can see what I am doing will help.
I promise I’ll be back on my game next time (or at least as game as I’m normally capable of!) — in the meantime, feel free to leave me any comments/questions here or on the video and I’ll answer them ASAP. Also, don’t forget to let me know if there is anything you need help with in the crafting world — maybe it could be the subject of a future Teach Me Tuesday video!
Okay… without further ado, here it is:
Such a pretty face I’m making 😉 In case you need them, here are the links to the items I talked about in today’s video:
Big Shot
NEW Big Shot Cutting Platform (comes standard with all Big Shots ordered June 1, 2016 or later)
Precision Base Plate (the BEST for those really intricate dies)
Magnetic Platform
Big Shot Die Brush
Embossing Folders
Thinlits & Framelits
And here’s a little cheat sheet again for you when using the Big Shot:
Framelit – “Frames” an image, often will perfectly cut out a stamped image designed by Stampin’ Up (and therefore, is often good for use with the Magnetic platform)
Thinlit – Thinlits look similar to framelits except they don’t have “open space” inside. Many of these are pretty intricate and work best with the Precision Base Plate, the new Big Shot Cutting Platform and the Big Shot Die Brush. (Visit page 194 in the 2016-2017 Stampin’ Up annual catalog for a listing of the thinlits recommended for use with the Precision Base Plate).
Precision Base Plate – This piece is a cutting surface and will replace one of your cutting mats when rolling through the Big Shot. Place the label side down and cardstock on top (of the black part of the plate). Use this one with the very detailed thinlits only – NOT framelits (framelits aren’t as strong and can’t hold up to the pressure)
Magnetic Platform – This little guy is a must-have when using framelits to cut out a pre-stamped image. It will perfectly hold in place as you roll the image through the Big Shot.
Okay, that’s all for today. Thanks so much for dropping by! Don’t forget to let me know what help YOU could use in your craft room!
Until next time,