So those of you who are scrapbookers probably know what progressive scrapbook pages are. Searching the internet for progressive scrapbook pages will likely bring up plenty of samples — as this is not a new idea. But I wanted to put together a progressive page to demonstrate in one of my recent workshops.
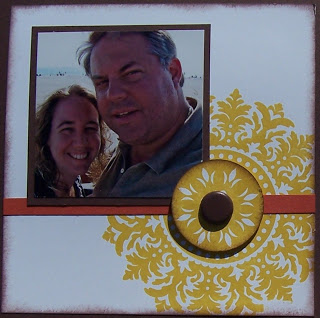
So basically what you do is start with a 6 X 6 page and then build upon it to make it an 8.5 X 11 page and then ultimately a 12 X 12 page. I unfortunately forgot to take pictures of this one in progress, but I’ve strategically cropped my photo of my layout so that you’ll get the idea. So what I started with was this:
I used a whisper white 6 X 6 piece of cardstock and stamped the Medallion stamp in crushed curry in the lower right hand corner. I stamped the image again on a separate sheet of whisper white cardstock and punched out the center and layered it on top of the medallion on my scrapbook page.
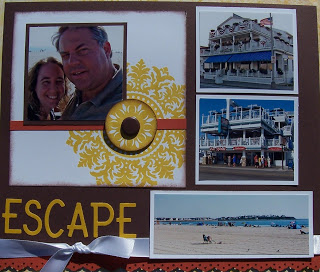
Once I had the 6 X 6 page, I wanted to incorporate that page into an 8.5 X 11 scrapbook page. I added the page to an 8.5 X 11 sheet of chocolate chip cardstock, added a few more photos and a title and voila:
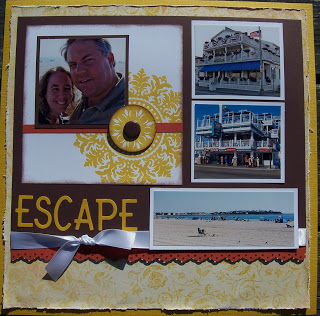
In the original version I didn’t have the long photo or the ribbon — I actually added those when I made it into a 12 X 12, but as I mentioned earlier I forgot to take photos during the process… so you get the idea.
I love using this process when I’m feeling a little stumped staring at a big 12 X 12 page — it’s kind of like freewriting to remedy writer’s block. You take small steps until your creative mojo comes back.
Here is the final layout:
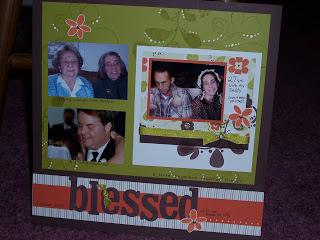
Here’s another example of a finished progressive page… unfortunately, again, I did not take photos during the process — but I think you’ll be able to easily pick out the original 6 X 6 page and the 8.5 X 11 page within the bigger 12 X 12 final layout:
Well, that’s all for today… thanks for stopping by!


