
I think it is very appropriate that the stamp set I’m going to share with you today is called “Choose Happiness.” Because (of course) it is a Stampin’ Up stamp set — and I always choose stampin’ to make me happy! So it fits, right? (smile)
Anyway, I wanted to share with you this set, which I adore. It will be going away forever at the end of this month! As I said, it’s called “Choose Happiness” and it has a great vintage vibe and is perfect for layering and collaging.
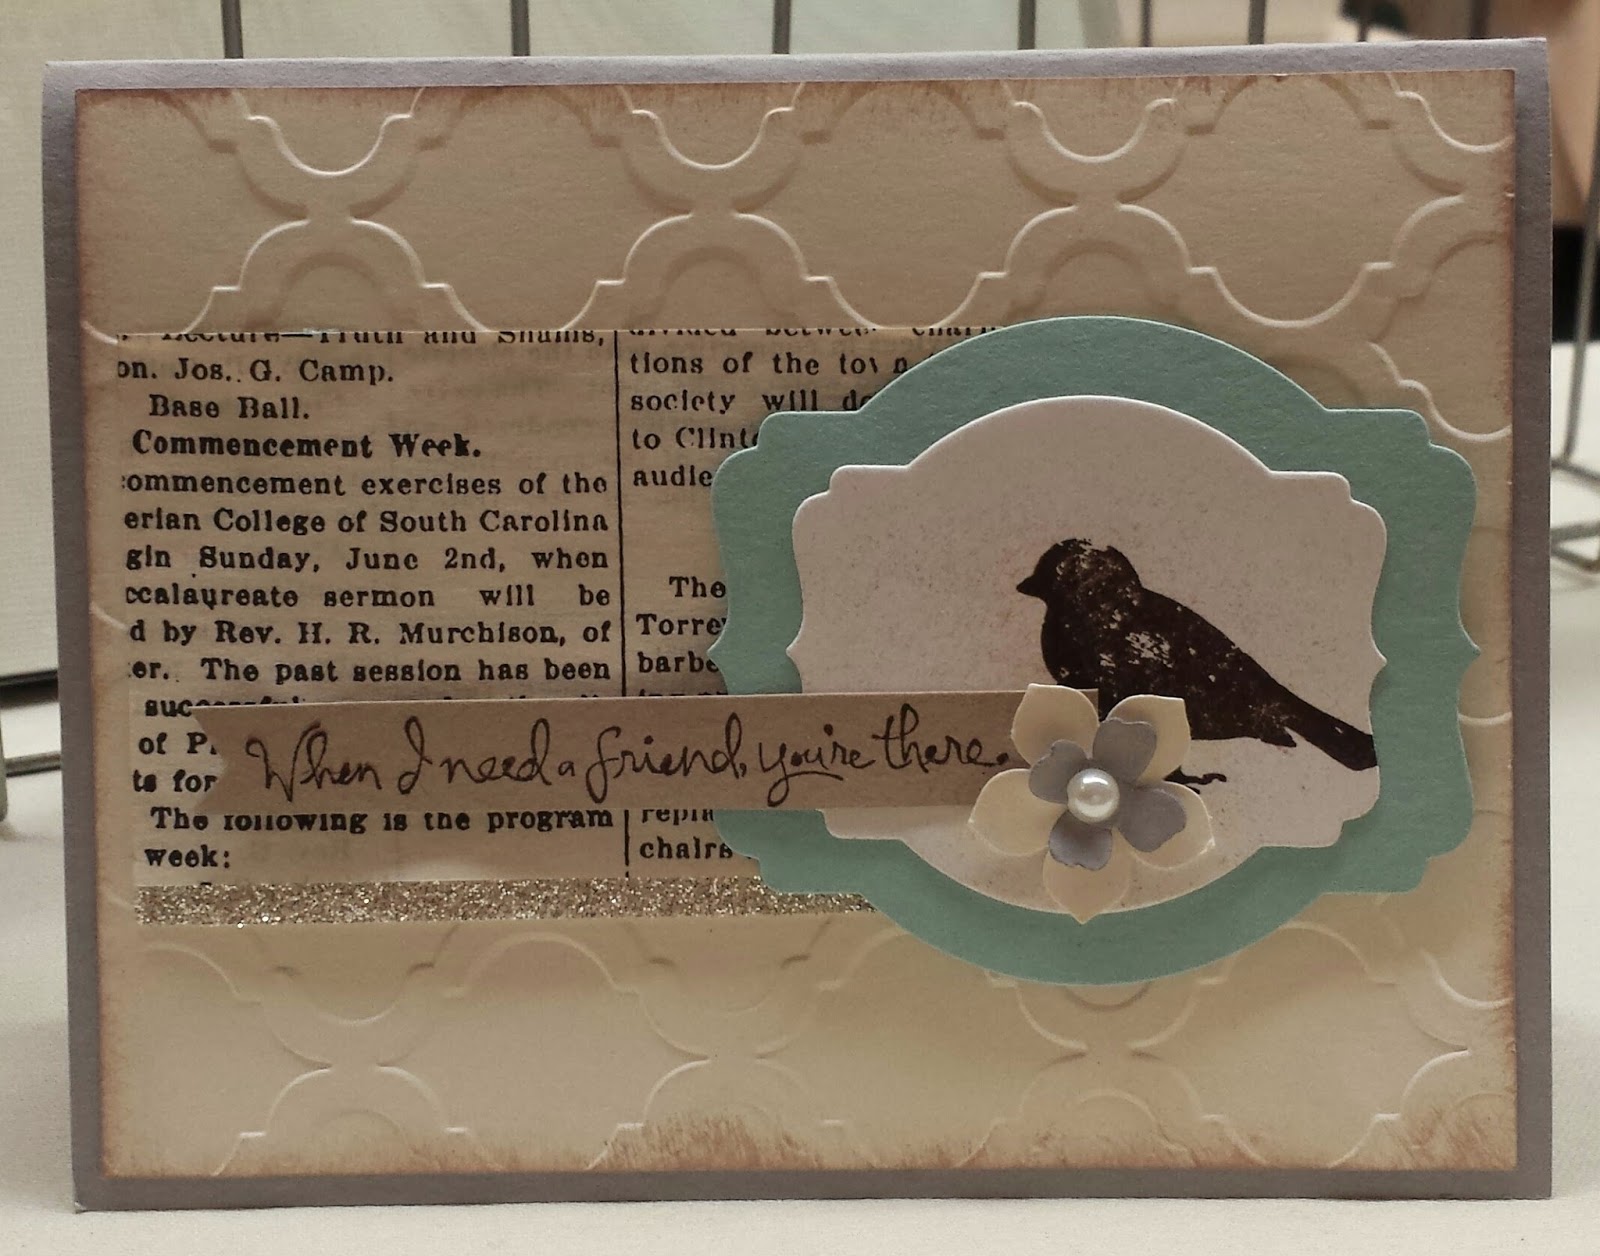
This first picture to the right is one I made a while back just playing around with my “scrap bin.” Do you have a scrap bin? It’s basically a little box near my desk that I throw all the stamped images, pre-cut circles, beautiful piece of patterned paper, leftover piece of ribbon and any other stamping goodness into. Then every once in a while I pull out the bin and just make a bunch of “one-of-a-kind” cards with whatever is in the bucket. It’s super fun, resourceful and I find it very inspiring – particularly when my mojo has left the building! You should try it!
My favorite part of the card above is the layering of the two flower pieces — the petite petal punch and the smaller flower punch from the itty bitty accents punch pack — that one is retiring! Gasp! Make sure you get yours before it is gone!
 Anyway, I’m also including another card to the right that I made for my Business Development adviser at Stampin’ Up. She is such a sweetheart and I had wanted to thank her for all her help and guidance so I sent her this beauty — again using the “Choose Happiness” set.
This one has a lot of layering, stamping, embossing and embellishing so it’s not one I would make in a card class or anything, but certainly one that you could make for that extra special person…
Finally, I’m sharing a cute little tea bag holder I made (again a while ago) using this stamp set — I told you it has been one of my favorites for a long time! This is super simple. You just want to measure the tea bag you want to put in it and then cut a piece of cardstock that measures 1/2 inch bigger all the way around than you tea bag. So if the tea bag was 3 inches square, you would make the piece of paper 3.5 inches by 7 (because you have to fold it up to make a pocket). Then you can decorate it any way you wish!
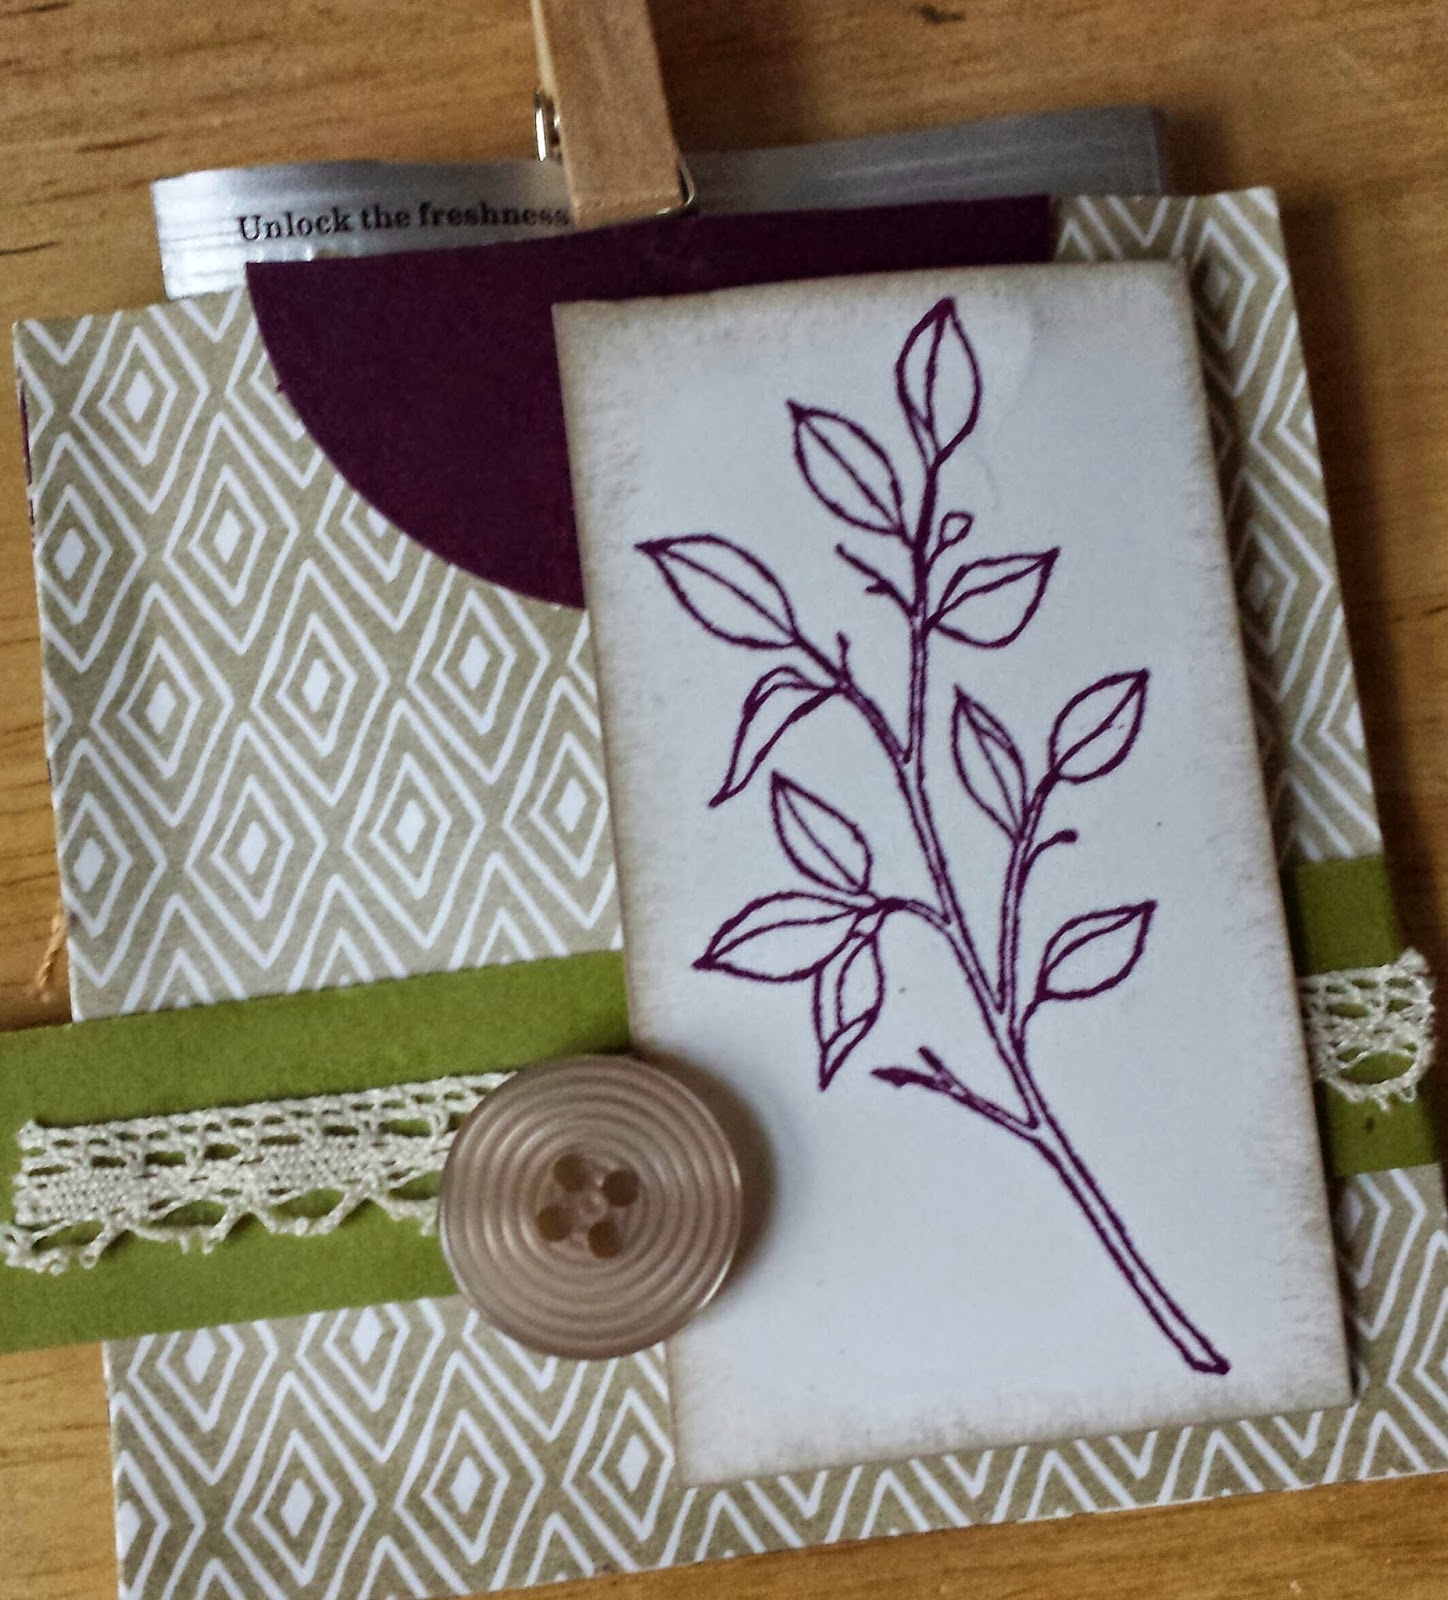
For mine, I went with a vintage vibe and used just the leaf image and Blackberry Bliss ink (another item that is going away forever (unfortunately the ink pad is already sold out, but you can get the In Color markers here). I inked the edges of the image using Crumb Cake ink and a sponge (my favorite “vintage” technique). I also added some vintage crochet ribbon and the neutral designer buttons to finish it off… both of those are disappearing, too — and they are on sale right now! I finished it off with the adorable clothespin… those are retiring, too!
Okay… I actually have one more sample for you — that we just made in card class last week. It’s a super simple one and you could easily mass produce it for thank you cards or just “thinking of you” cards!
You know what is the crazy part? I made a VIDEO for you! 🙂 You can watch it below for one more card idea using the Choose Happiness stamp set… if you love it as much as me, be sure you get it before May 22 when all the stamps go on a “while supplies last” basis.
Thanks for visiting today! I hope you have a great weekend and if you’re a Mom – have a wonderful Mother’s Day!
