Hey there friends… guess what day it is? It’s Teach Me Tuesday! Today I have a video for my scrapbookers… you know who you are! And even if you’re not a scrapbooker, there may be some hidden tips and tricks in there for project coordination if you want to take a peek, too! 🙂
Almost Two Decades of Scrapbooking!
In case you didn’t know, scrapbooking was what got me addicted to paper in the first place. I’ve been scrapbooking for 16 years! Crazy, right? What is even crazier is that I really should have more pages finished… I need to stop giving everything I make away! Seriously, though, I think 90 percent of the pages I’ve made have gone in someone else’s album. Dumb, right?? I’m on a mission to start scrapbooking some photos that I can keep! And first up is to document the three Mother’s Day trips that my sister and I gave my Mom. You can read a bit more about that tradition HERE, but today I want to share with you a tip I use to face the blank 12 x 12 page (and the first page of my Mother’s Day “trips” album). It’s called Progressive Scrapbooking and I totally didn’t invent it. It was a method that was pretty popular back in the day and I’ve just continuously used it over the years. Check out my video:
What do you think? I totally think you should give it a try next time you’re stumped. It really does help you conquer that big, blank page!
Did you know?
I also wanted to make sure you noticed that Stampin’ Up brought back some 12 x 12 sized cardstock in the holiday catalog. In all honesty, we truly have THE best cardstock for scrapbooking. It’s very sturdy, smooth (so you can stamp on it) and just overall great quality.
Here is what we currently have available (and I’m hoping if we start buying it up, they’ll introduce more coordinating color packs!):
Real Red 12 x 12 (Designed to coordinate with the Candy Cane Lane Suite)
Warmth & Cheer 12 x 12 (combination of Cherry Cobbler & Garden Green cardstock; Designed to coordinate with the Warmth & Cheer Suite)
Halloween Night 12 x 12 (combination of Basic Gray and Pumpkin Pie cardstock; Designed to coordinate with the Halloween Night Suite)
And we always have Basic Black, Whisper White and Kraft 12 x 12 cardstock (I’m hoping they bring back Crumb Cake 12 x 12 — that’s my absolute favorite for my scrapbooking bases!)
And last “commercial” before I show you some pictures of my scrapbook page… don’t forget that all of our Designer Series Paper (priced at $11) is currently on sale for buy 3, get one FREE! You can see all the patterns available here.
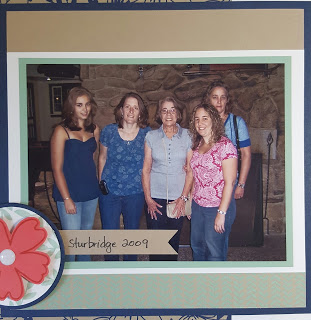
So here is “step 1” – the 6 x 6 starting point. (Of course, I didn’t add the flower embellishment until the final step — I just forgot to take pictures BEFORE I assembled the page!!)
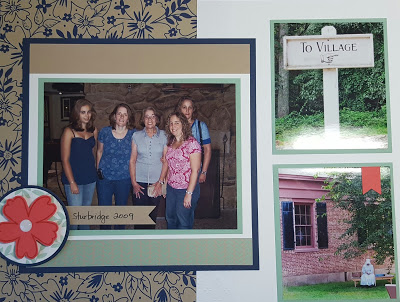
Here is “Step 2”
On the Step 2 layout I added the Whisper White 8.5 x 11 background, the flower patterned paper and the photo mats.
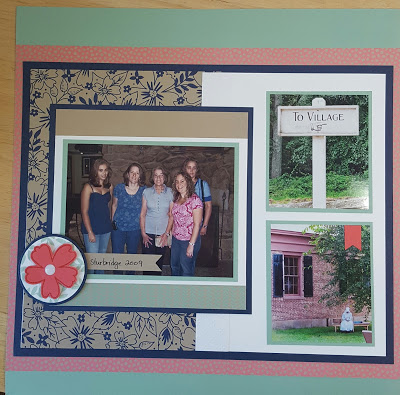
And finally here is step 3:
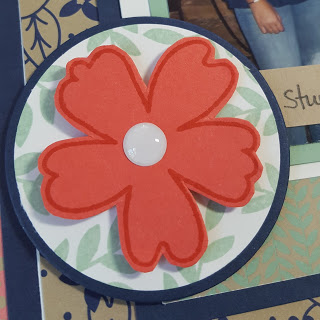
Here I added the Night of Navy mat around the 8.5 x 11 Whisper White and the Watermelon Wonder patterned paper, and of course the stamped embellishment. Here is a close-up of the embellishment:
Easy peasy, right? If you want to take a look at some more Progressive Scrapbook pages I’ve done, you can see some in the links below:
Family Page
Lake Mead (another one of my favorites!)
30th Birthday
Happy Birthday Hey Hey
Water Fight (the one I show in the video!)
Leadership
I hope you like this technique! Be sure to let me know if you’d like me to teach something specific in my next “Teach Me Tuesday” video. These have been a lot of fun and I really appreciate all your kind words and feedback! You are all the sweetest 🙂
Have a great day!


