
Hello… so I took a little unexpected hiatus in my 12 Days of Gifts. Let’s just say making about 200 Christmas cards sort of slowed me down a bit! But I’m just about ready to start the process of writing out the cards and getting them in the mail. With any luck I’ll have them out by Christmas (wink, wink)!
Since it’s too late to get purchased gifts in time for Christmas now for the most part (without expediting shipping), I’ll just be sharing hand made gifts for the remainder of the 12 Days of Gifts. Hopefully I’ll still have a couple of ideas you can use this season.
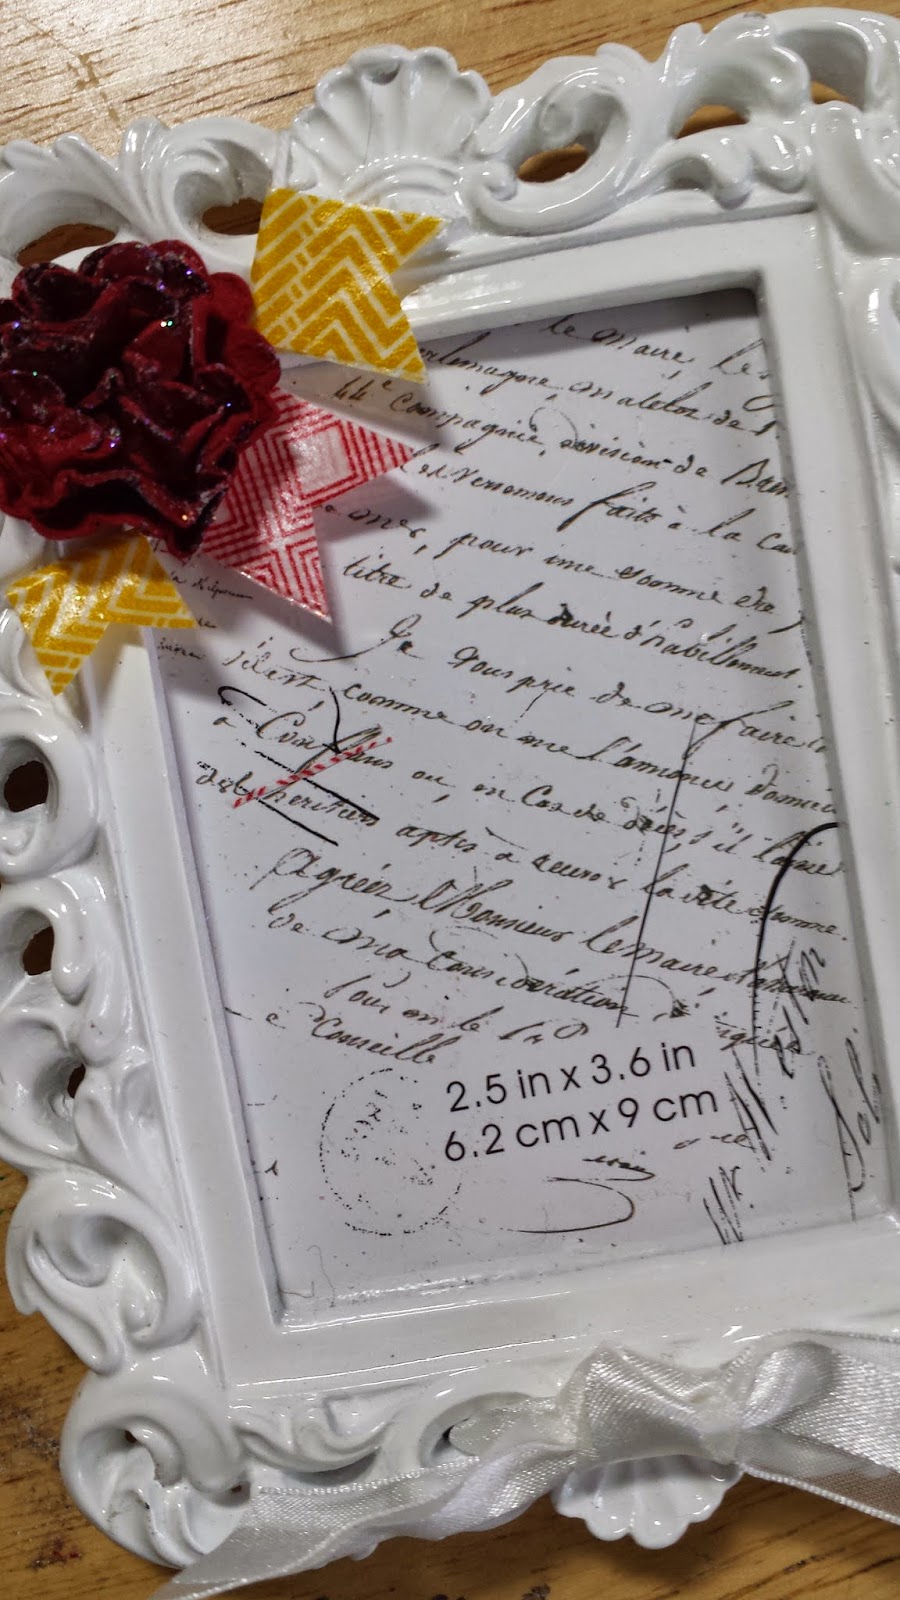
With that… on to today’s gift idea. I purchased this little white frame at Michael’s over the summer (but they still have some now — just in different colors). They were in those little $1 and $2 bins near the front of the store. That area is a gold mine for little “gifty” ideas.
So my Harwich Port stamp club members decided to have a handmade gift exchange at our meeting last week so I made this little gift for my contribution to the exchange. I used washi tape for the little banner (I think that was an idea that I got from the bi-monthly Stampin’ Success magazine that Stampin’ Up provides for their demonstrators).
The flower is a super, super simple paper flower. You can use any size scallop circle punch you want. For this smaller size flower I used the 1 1/4″ scallop circle. I punched out three of them (you could do more if you wanted a “bulkier” flower) and spritzed them with a little bit of water to soften up the cardstock. I then crumpled each of them up in a little ball (yup – just completely crush them) and then I carefully unfolded them.
 Next, I piled them all on top of each other and poked a hole in the center of all three; insert a small brad to hold them all together and then “fluff” and “scrunch” until you get the carnation-like look. Then use the 2-way glue pen to add some glitter for a little pop of sparkle. Voila! I attached it to the frame with glue dots and there you have it. Simple!
Here is a close-up picture of the frame so you can see the flower a bit better.
Fun, right? I do have a little warning for you with this project — it’s very hard to stop making these once you start! In fact, I first became obsessed with making these way back in 2010. You can see another project I made with these here.
Ok… I’ll be back tomorrow with another idea. Promise!
